
 日本語
日本語 EN
EN 日本語
日本語Learning how to create 3D drawing
I read that we need to use a screen as the point of view to create 3D drawing, but it was confusing me when i tried it


Comments
You must be logged in to post a comment.
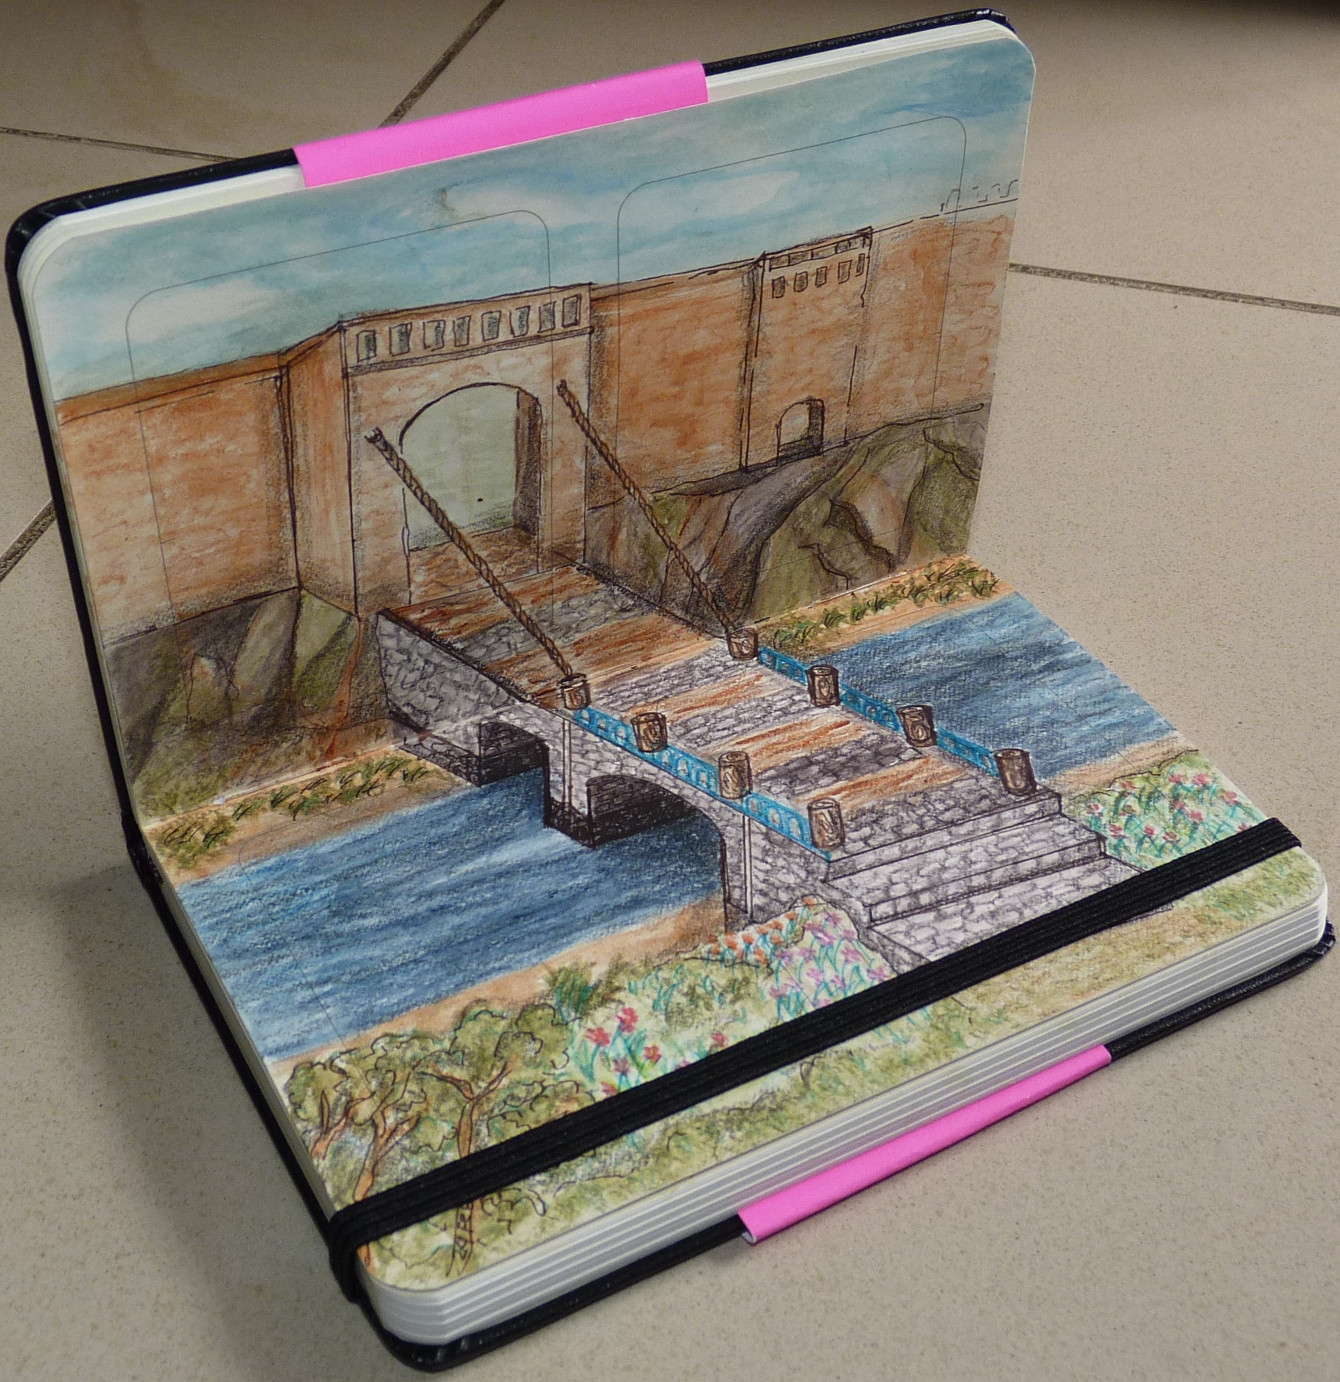
Hi, i drew my every 3D / Anamorphic drawing manually without camera, phone screen, photoshop, grid template or any other equipment to help with the point of view. Please don’t mind if you find mistakes in the drawing…:))
Well, with the format of the book, this is very simple, I would like to master three-dimensional graphics well in a completely two-dimensional area
Happy and grateful for your is dove shampoo bad
approach to work. Promptly, clearly, competently. Do you like it please.
Creating a 3D drawing involves the use of computer-aided design (CAD) software or traditional methods such as sketching and modeling. Here’s a general guide on how to create a 3D drawing using CAD software:
Choose CAD software: There are various CAD software options available, both free and paid. Some popular choices include AutoCAD, SolidWorks, Fusion 360, and SketchUp. Select the software that suits your needs and budget.
Learn the software: Familiarize yourself with the software’s interface and tools. Many CAD software providers offer tutorials, documentation, and online courses to help you get started.
Plan your drawing: Before you start creating the 3D drawing, have a clear idea of what you want to design. Consider the dimensions, shapes, and specific features you want to include.
Create a 2D sketch: Begin by creating a 2D sketch of your object. Use basic shapes, lines, and curves to outline the structure. Pay attention to accurate measurements and proportions.
Extrude and modify: Once you have your 2D sketch, use the software’s tools to extrude or push/pull the sketch into the third dimension. This process creates depth and turns your 2D sketch into a 3D object. You can also modify and refine the shape by adding or subtracting material.
Apply materials and textures: To enhance the visual appeal of your 3D drawing, apply different materials and textures to the surfaces. CAD software usually provides options for selecting colors, finishes, and other material properties.
Add details: Depending on the complexity of your drawing, you may need to add more intricate details such as fillets, chamfers, patterns, or textures. Use the software’s tools to achieve the desired level of detail.
Render the drawing: Rendering is the process of creating a realistic representation of your 3D drawing. Use the rendering tools available in your CAD software to apply lighting, shadows, and reflections to make your design look more lifelike.
Save and export: Once you are satisfied with your 3D drawing, save your file in a suitable format such as .dwg, .stl, or .obj. This allows you to share or further work on the drawing if needed.
Remember, creating 3D drawings can be a skill that takes time to develop. Practice regularly and explore the capabilities of the CAD software to improve your proficiency and create more complex designs. Source https://fiverrme.com/
Thanks for sharing this with us also visit 3d laser scanning for more.
Embarking on the journey of learning 3D drawing opens up a realm of creativity and innovation. Mastering this skill involves understanding spatial relationships and honing precision. Resources like tutorials, software, and online platforms provide valuable guidance. For deeper insights into the digital realm, explore the link https://nicolsonbray.com/insights/cyber-attacks, where cybersecurity meets artistry, emphasizing the importance of a secure online learning environment in the evolving landscape of 3D design.